BENNETT FAMILY APPLE-WOOD-SMOKED CHICKEN THIGHS
Serves Four to Six


Adapted from West Coast Prime Meats Cooks © 2015
Ingredients
- Small bag apple wood chunks or logs if using a smoker, apple wood chunks if using a grill (wood chips burn too fast and dirty)
- Aluminum cooking tray
- Stainless steel cooking rack that fits into your cooking tray
- Eight skin-on chicken thighs
- Two tablespoons kosher salt
- One tablespoon poultry seasoning
- Two-thirds cup chili powder
- Quarter-cup white sugar
- Quarter-cup brown sugar
- Four tablespoons salt
- Four tablespoons onion powder
- Four tablespoons garlic powder
- One tablespoon black pepper
- Scant quarter-teaspoon paprika
- One teaspoon cayenne pepper (use more or less to your heat preference)
- Liquid butter spray with four tablespoons melted butter
- BBQ Sauce (Mop)
- Two cups water mixed with two cups apple juice (optional)
Instructions
- Put the kosher salt and poultry seasoning in a large reusable and sealable container or a plastic freezer bag. Add the chicken thighs, then add enough water to submerge the chicken, seal the container, shake it around and put in the refrigerator. Let brine for 45 minutes or so (letting brine too long will make it hard to have crispy skin).
- While your chicken brines, start your smoker or grill and control your temperature at around 250 degrees Fahrenheit. If using a grill, you will be using one burner and setting your chicken on the opposite side of the lit burner, to capture indirect heat and smoke. Before you light the burner, add a few apple wood chunks underneath the grill grates and above the deflector plate, if possible. Otherwise, just set the wood chunks directly on the grill grates. As the grill heats up, so will the wood and it will start to smolder slowly. If your wood chunks are in flames, your grill is too hot. A few chunks should last for your whole cook time.
- In a small bowl, thoroughly mix the chili powder, sugars, four tablespoons of salt, onion powder, garlic powder, black pepper, paprika and cayenne pepper. This is your chicken rub.
- Pull the chicken out of the brine and dry. Trim the excess skin off the edges of each thigh using kitchen shears. Apply chicken rub evenly to the bottom side of each thigh and flip them over. Using your thumb to get between the skin and the meat, and being careful not to pull the skin entirely off the thigh, create an opening and apply rub directly onto the thigh meat underneath the skin. Apply rub evenly on top of the skin of each thigh.
- Place stainless rack into the aluminum cooking tray. Place chicken thighs skin side up onto the rack and space evenly so they do not touch. The cooking rack should lift the chicken off the bottom of the aluminum pan allowing smoke to get underneath the chicken. If cooking on a kettle grill, as a moisture insurance policy, you can add the water-apple juice mixture to the aluminum pan. Just make sure there is still space between the grates and mixture so smoke can get underneath the chicken.
- If you are using a grill, you will place the pan on the opposite side of your lit burner to cook indirectly. If you are using a barbecue kettle, place the pan on the opposite side of the coals.
- Note the time: Depending on the ambient temperature and your cooking apparatus, total cook time should be two to two and a half hours. Grab your favorite beverage or book and relax outside for an hour. Resist the urge to open your cooker. Control temperature with the smoker dampers or fuel dials.
- Butter spritz time: When you eat chicken thighs, you want bite-through skin, not rubbery skin that pulls off all at once. So after one hour of cooking and every 15 minutes thereafter, you will want to spritz the skin lightly with butter. Also, use this first spritz interval to inspect things visually in your cooker and make any tweaks to the pan position, wood chunks, vents, etc.
- At the two hour mark, take a quick temp check. You are looking for an internal temperature of 165 degrees Fahrenheit (and you should be pretty close). You can gauge the rest of your cook time from that point.
- If you are at 165 degrees Fahrenheit and the skin starts to firm up and look crisp (not burnt), you are in good shape; time to apply your favorite barbecue sauce. I like to get a big bowl of sauce and some tongs, carefully grab a whole thigh, quickly dunk it in the sauce and return it to the pan. When dunked, the glaze sets evenly and the presentation is consistent and clean. Or, if you are not trying to impress anyone, simply brush your sauce onto the chicken.
- After the thighs are glazed, crank up the heat. This will help the glaze set and crisp the skin. Some folks like to put the chicken directly onto a hot grill to finish (which I sometimes do), but if you know your cooker well, you will know how to crank up the heat and position the hood to force the air flow back down onto the chicken almost like a broiler (which is also an option in the oven if you want to cheat). Keep in mind the chicken is at temperature, so you are just setting the glaze and further crisping the skin. Don’t burn or dry out the food you just spent hours cooking!
- Once the glaze is set, pull the chicken off the cooker. Let the chicken rest for 10 to 15 minutes and serve.
Copyright © 2015 by Amy and Craig Nickoloff and West Coast Prime Meats
Recipes reprinted with permission of the owners.
Contributor
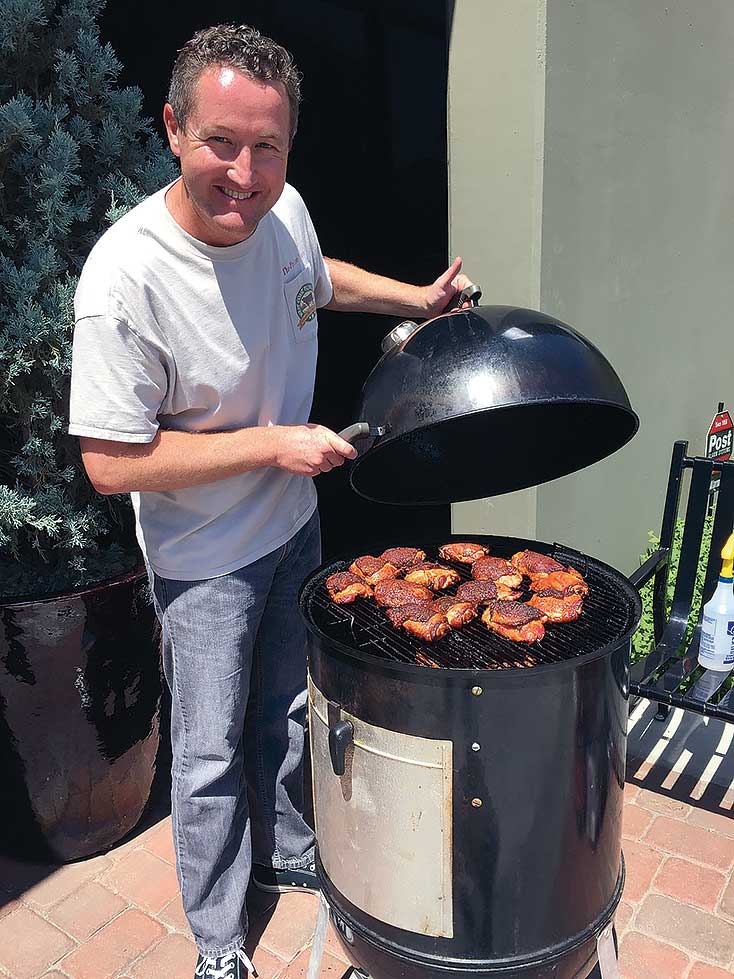
Nathan Bennett’s career trajectory went from pigskin to sharp pencils, when an injury ended his football career and left him to focus on business school. College in Kentucky inspired another passion: smoked meats. Now he’s not only the chief financial officer at West Coast Prime Meats, he’s also the in-house barbecue maven.
One of Bennett’s favorite items to barbecue is chicken thighs. “The chicken thigh, often overlooked for the more popular breast meat, can be a moist and delicious treat if you season it and cook it properly over smoke,” he says, adding, “As with most barbecue, the food is more about the process.”
Bennett uses a smoker for this recipe, but a grill with multiple burners will do just as well (referred to as your cooker throughout). To turn your kettle barbecue into a smoker, see How to Turn Your Kettle Grill Into a Smoker.
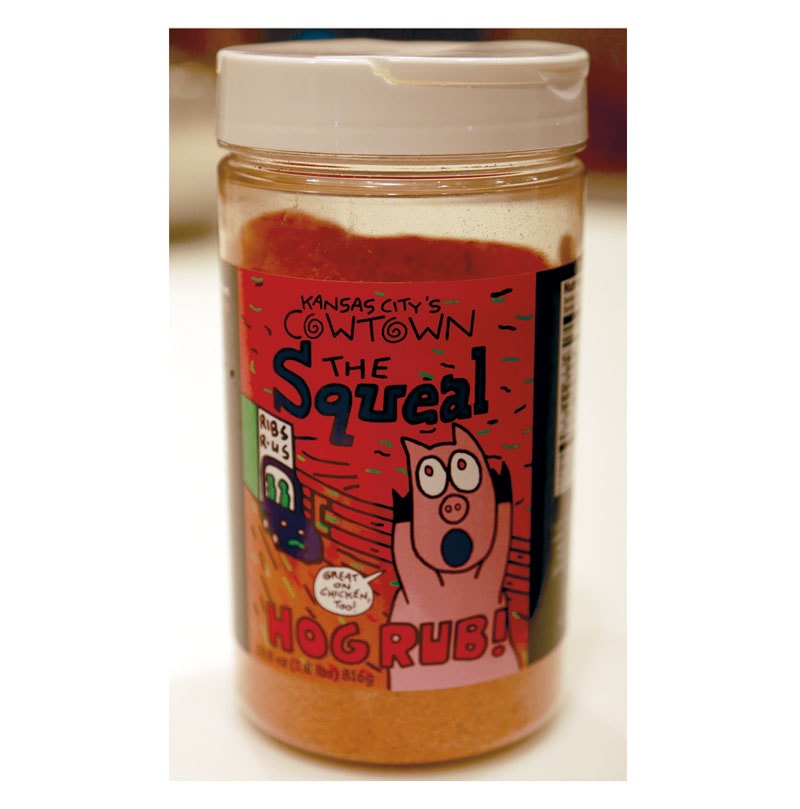
To save time, Bennett recommends an alternate to his own rub: The Squeal, made by Kansas City BBQ Store and available online.